
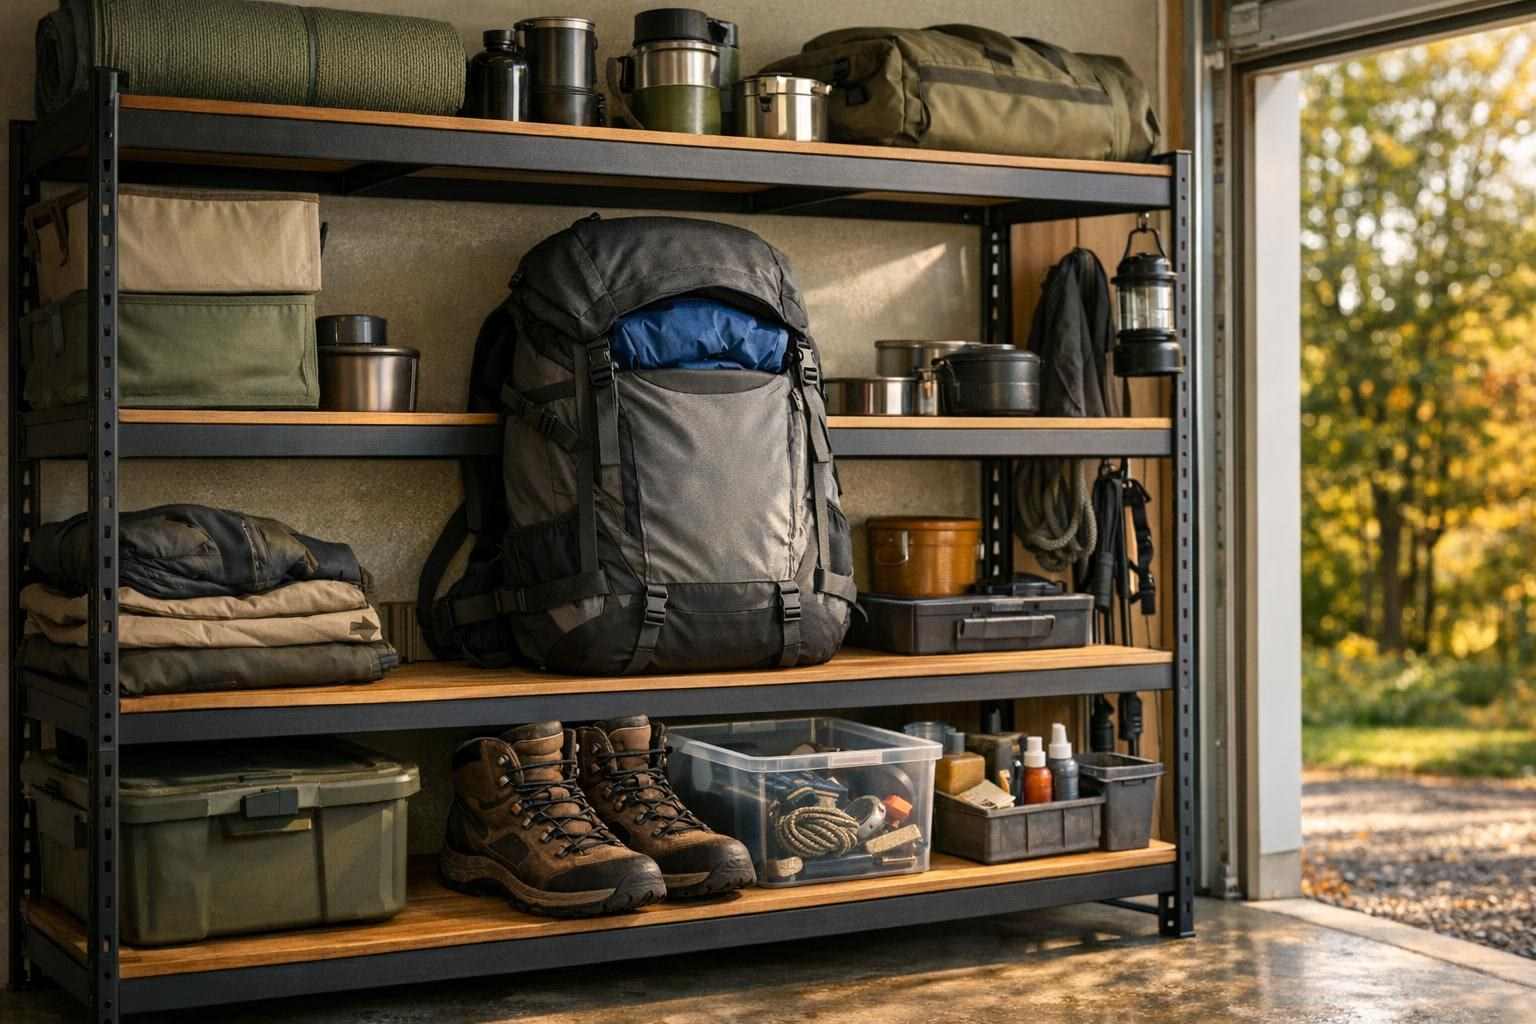
Consider the space where you store your outdoor gear by your garage door. Often it is a repository for all of your gear for past trips, such as damp gloves in the back of a stove, old trail snacks, and headlamps with dead batteries still attached. But with a simple seasonal reset of the clutter you have, you can create a very functional system for maintaining your gear, pointing out things that need repair before they fail in the field, and make for an easy trip out the door for your next adventure.
Start with the next trip, not the entire storage area
Start with the Next Trip: Apply Seasonal Storage to Just the Gear for Your Next Outing. The best place to start storing gear for the season is with the gear for your next outing. Set up a temporary work area on the floor or a table and sort out just the gear for the next trip. This will allow you to separate the active gear from the gear that will be stored for the season. As you sort through the gear, apply the criteria for storing gear for the season to each item individually. In this way, you will be able to separate items that would be wasted if stored for the season from those that could be used in future seasons.
Determine whether each item will be used in the coming seasons, and whether it is in good condition. Consider whether it will still fit you, or whether you will have new gear. Consider whether it needs to be recharged, refueled, cleaned, etc. Items that won't see use in the coming seasons should be stored in less accessible locations.
Make a note of any items that are missing or of poor quality while you are sorting out equipment. A cracked buckle, a flattened seal on a tent, or missing tent stakes all need to be fixed before you head off to the trailhead. It's also worth checking the latest rules and season for any activity you are planning to do, as the set up for a hunt this season may well be different from last season. Check the official website for the latest information.
Clean equipment before it goes behind the front row
Outdoor gear will inevitably collect dirt and grime on storage. Grit can get lodged in the zippers of packs, moisture can start to cause mildew in clothing, and food residue can attract pests. Get the worst off as soon as possible. Start by shaking out clothes, loosening soil from footwear, and emptying every pocket. Brush off any hard surfaces with a damp cloth and allow to dry in a well-ventilated area before storing.
For camping equipment, look for any signs of grease or food on cookware, check the condition of stove parts in line with manufacturer's instructions for cleaning, and keep fuel products in the way specified by labels and local regulations. This doesn't mean storing them on an open household shelf, though. Empty and shake out sleeping bags and shelters and store them flat to allow for even airflow rather than storing them compressed for long periods against the recommendations of the manufacturer.
Removing dirt and debris from your footwear and gear before storing it away also supports habitat stewardship. Seeds, mud and plant fragments can get caught in boot soles and in between the seams of packs and other gear. By cleaning this off before storing your gear, you can prevent the risk of accidentally introducing plant material to new areas. Dispose of any mud and debris responsibly.
Give the shelf zones with a job
Organize gear by function to create zones on your storage. Create a "ready to go" area for gear you anticipate needing for your next outing. Create a repair area for gear that needs maintenance before you take it out again. Label items stored in open baskets or on shelves. The note should reference the function served by the gear stored in that area (e.g. lighting, clothing, shelter, cooking, etc.). If there are multiple people storing gear in the shelf, organize items by function rather than by name.
By setting up a distinct 'ready to go' working area on the shelf, you can make it clear to everyone what needs to be checked before heading out. Similarly, creating a 'repairs required' working area for damaged items, means you can't stick them back in the general storage and then forget about them. Labels or an open basket for this section are all you need.
Do not store items of sensitive nature (like optics, electronics, written documentation etc. for outdoor activities) near wet outdoor footwear or dirty clothing. Firearms and their respective ammunition must be stored outside of the seasonally changing gear, in separate storage and according to local laws and manufacturers' guidelines for such equipment. Secondary accessories for the foregoing items can be organized on the shelf.
Match storage to the material
All types of camping equipment must be cleaned prior to storage. Dirt can work into zippered pockets, moisture encourage mildew, and food residue attract pests. Start by taking the items to be stored outside and giving them a good shaking. Brush off any dirt from shoes and make sure to empty all the pockets on packs. Wipe down any hard surfaces with a damp cloth, and then allow them to dry in a well-ventilated area prior to storing them.
Clearly labeled containers can be useful for some of the smaller items that get left behind in the rush to get out the door, such as spare batteries, repair tape, extra cord locks, and all the various oddities needed for fire starting. But be sure to note that for most items of damp outdoor gear, the simplest storage is not a sealed container at all. Make sure the container in which you are storing your gear is itself clean and dry. And make sure you can see to find what you need in there when the time comes, rather than having to open up five or six different containers looking for that one strap.
Mark any gear that isn't ready for storage with a strip of masking tape and write "clean," "repair" or "replace" on it. If you have to store batteries check for signs of corrosion and follow the long term storage instructions for that type of battery and for the device it's to be used in. Typically, you would remove batteries from gear and store them separately according to the manufacturers' instructions for long-term storage.
Finish with a departure checklist
Go back to your weekend scenario. Test your new shelf by pretending it's tomorrow and you're leaving for your trip. Can you find your weather layers, your lights, your maps and your water and food carrying and storage equipment? Are all your gear items dry, have batteries been charged and are they in full working order? Are there any special items that need checking before you leave on your trip?
A useful checklist can stay short:
– Clothing suited to expected conditions, with a dry spare layer
– Footwear cleaned and checked for damage
– Shelter, sleep system, and cooking equipment inspected
– Lighting, batteries, navigation tools, and communications devices checked
– First-aid and repair supplies replenished
– Food, water equipment, and waste-carrying supplies ready
– Required permits, tags, etc.. are current and available as needed.
Leave space on the shelf for an occasional drying pair of gloves, for a field bag that has been returned from a trip and is awaiting repair, for a single item that has been fixed and is awaiting return to a rucksack. The system is of most use if it is convenient to use. That means storing your outdoor gear in a way that doesn't allow it to be filled to the brim of a crowded shelf.